The better website hosts provide the user with a cPanel. cPanel is a Linux-based web hosting control panel that provides a graphical interface and automation tools designed to simplify the process of hosting a web site. Most hosts provide video tutorials to help learn how to use it. In this tutorial we use the Namecheap cPanel from their Shared Hosting Value Plan.
How To Install WordPress Through cPanel Softaculous
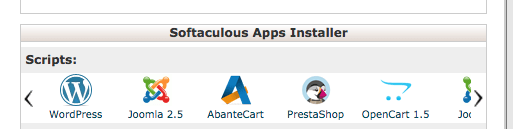
Softaculous automates the installation of web applications, like WordPress, to a website through the use of predefined scripts. Installations are launched from the website administration area. Softaculous runs within the cPanel control panel. However, it is also available on other website control programs, such as DirectAdmin, H-Sphere, Interworx, and Plesk. Our example uses the Softaculous WordPress installation program on the Namecheap cPanel.
Softaculous WordPress Installer Launch Button
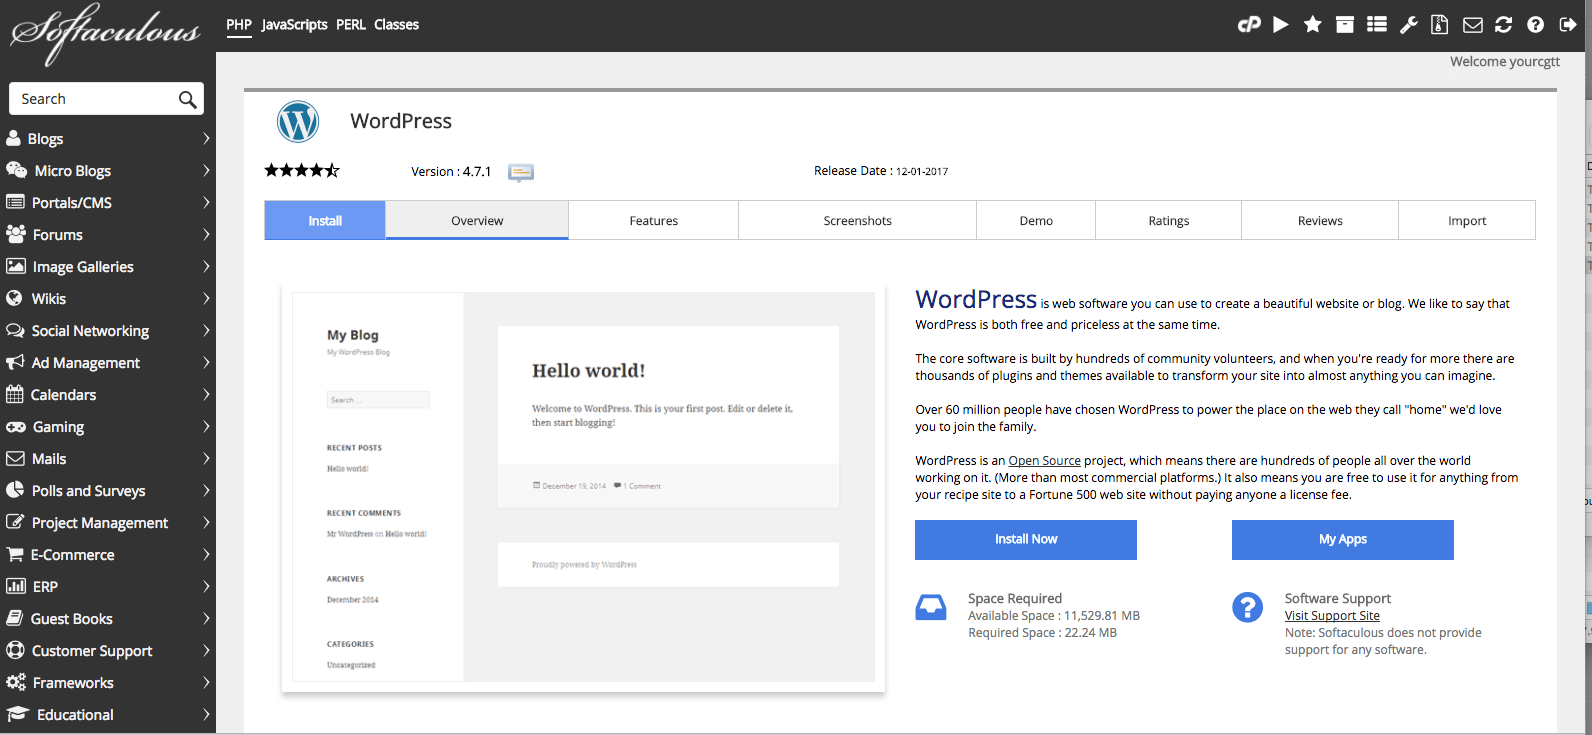
Softaculous WordPress Installation Screen
The installation begins with a simple click on the “Install Now” button which takes you to a page where it is very important to pay attention to the options because the WordPress options can save you lots of $ because it offers free backup and WordPress upgrade services. Many WordPress consulting companies, especially the ones that want to “take care of the hosting for you” charge you monthly for the services that are free with Softaculous. We will walk you through the options.
Softaculous WordPress Installation Options
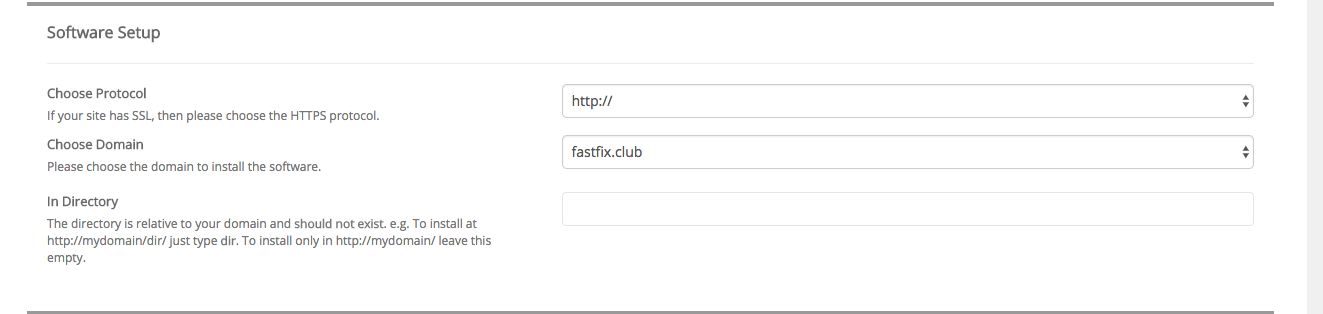
1. Set Protocol, Domain and Directory
The first options are whether you install under http:// or https://, the Domain and the directory.
If you haven’t installed the SSL certificate, you will be installing under http://.
In most cases, you will only have one domain. Although Namecheap allows you to host up to 3 domains on the value plan.
Then you will choose the directory for the installation. The vast majority of you will leave this blank because you are not installing WordPress as a separate program in a subdirectory.
2. WordPress Website Name and Description
You give your WordPress website a name and a description in this section. You have the option to change it in the actual WordPress dashboard so don’t worry too much about it. Don’t check the box to enable a multisite implementation. It is a very rare occurrence where a WordPress site owner needs WPMU.
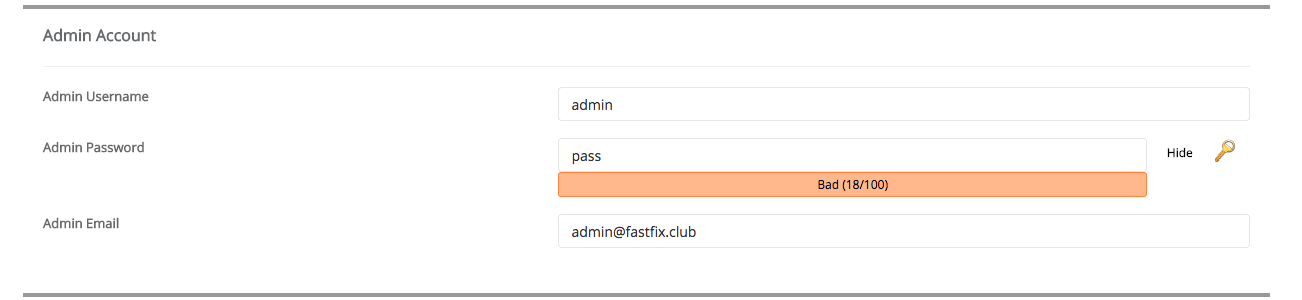
3. WordPress Admin Account Setup
The WordPress Admin account is very important. Do NOT leave the default name “admin”. This makes it easier for hackers to get into your site.
DO use a strong password. You can use the key at the far side to generate a random strong password but if you want to use a password that you can remember. Typically any easy to remember non-English word with a 4 digit number and an ending of !!# is very strong. So here, you could use something like buendia2016!!#.
Change the Admin Email to one that you know is valid and is where you want Softaculous and WordPress emails to go.
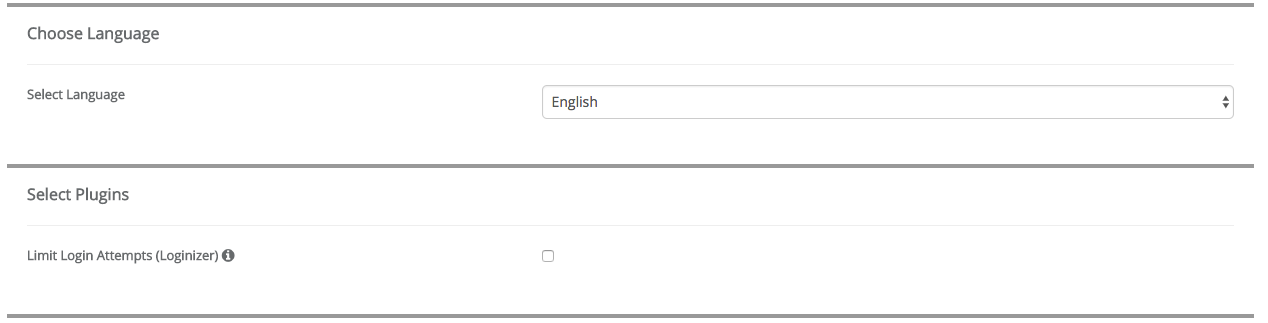
4. Choose language and plugins
The language will default to your browser language so it is almost always correct. We recommend not limiting login attempts so don’t enable the plugin.
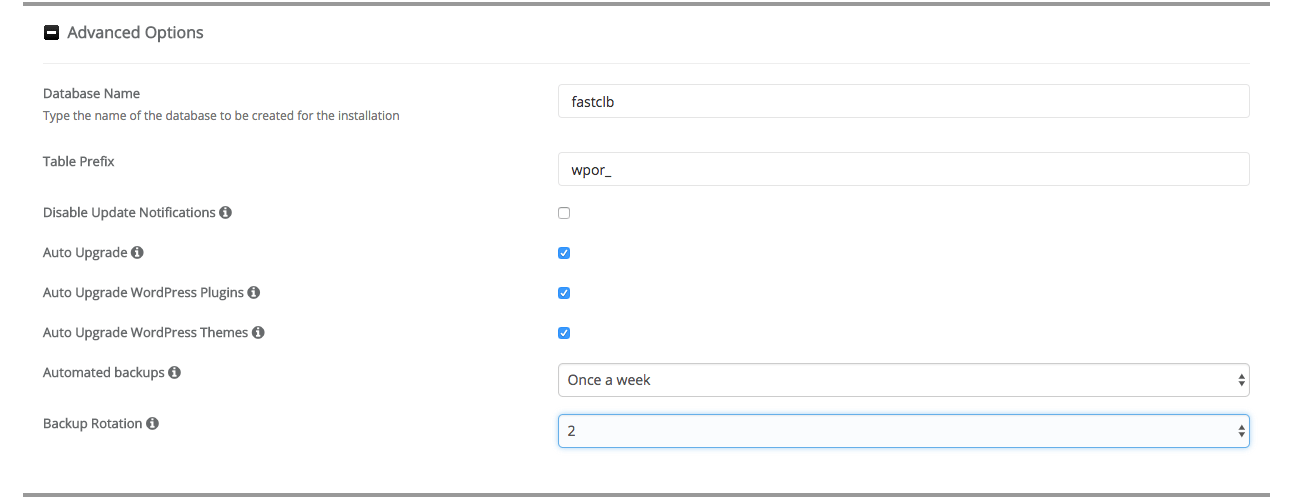
4. Softaculous WordPress Advanced Options
The Advanced Options are very important. The first thing to do is to set a useful, easy to remember database name. Our clients often end up with several databases. If the name is related to the application, it is easier for us to find the database quickly. The database name has a 7 character max limit.
The table prefix should always be something other than wp_. In the past, the installation defaulted to wp_ and all hackers know that. Softaculous always uses a good prefix so normally just leave it.
Now save yourself maintenance time and/or money!
Enable Auto WordPress upgrades, plugin upgrades, theme upgrades and backups!
Backup rotation is how many past backup copies you keep. In general, two is sufficient.
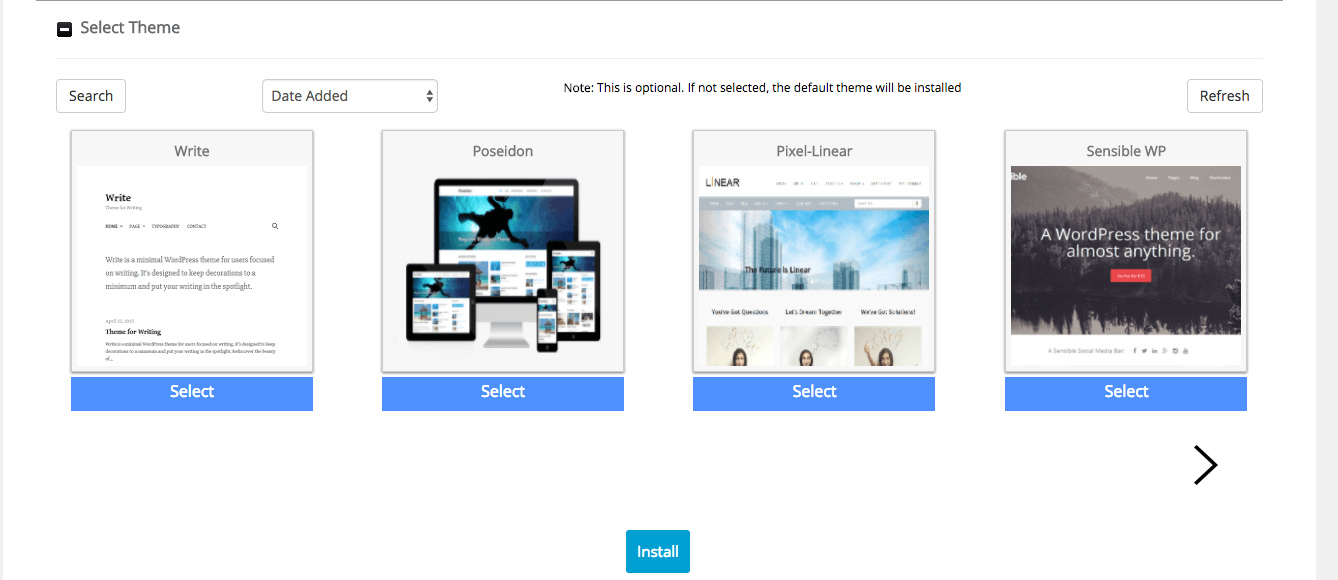
5. Softaculous WordPress Theme Choices
You can choose one of the featured themes, but these are generally bait and switch themes that come with limited functionality unless you buy the “pro” version. We recommend skipping the choice. The WordPress will install the current year’s WordPress.org theme.
Click Install and You Are Done.
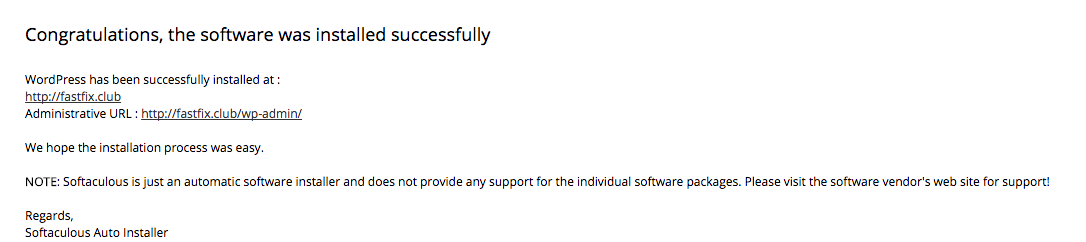
WordPress After the Softaculous Installation
After the installation, Softaculous gives you the URL to access your new website and the URL to login to the WordPress Admin dashboard.
NEXT, we cover how to take a default installation like this and install a Fast Fix Web Design Website Model!
3 thoughts on “The 5 Steps To Setup WordPress through the cPanel Host”

Pingback: The Steps to Install a WordPress Website Model - Fast Fix Web Design
Pingback: The 8 Steps to Install a WordPress Website Model - Fast Fix Web Design
Pingback: 8 Steps to Migrate a WordPress Website Model - Fast Fix Web Design