8 Steps to Migrate a WordPress Website Model

The BEST Way to Install a Clone of a WordPress Website is to Migrate it.
Here are the 8 Steps To Migrate Fast Fix WordPress Website Models

After you have completed the 5 Steps to Setup WordPress, you will return to the cPanel. There, we will be using 2 more cPanel tools. The phpMyAdmin software program and the cPanel File Manager.

phpMyAdmin Launcher
Softaculous WordPress Installation Screen

The installation begins launching phpMyAdmin. Pay careful attention to the next how-to steps!

1. Open phpMyAdmin and select the database.

After you launch phpMyAdmin, you will see the list of your databases on the left. Typically, in a new installation, you will only see two. But we run many installations to maintain multiple clients and models. However, it is easy to see, now, how naming the database in the 5 steps, is useful. 

2. Select All Tables and Drop Them

There are a number of clicks involved here but they all take place on the same screen. When you open the database, the table structure window appears. It has the option to Check All to select all the tables. Then there is the “With selected” option. Choose Drop and the Go. 

When you choose Drop, a dialog will appear with the SQL statement to drop all the tables. Simply click yes.

3. Import the WordPress Model SQL File

In your WordPress Model Purchase, you received 2 zip files. One is the database zip file. The other is the WordPress Content file.

WordPress Model Installation File

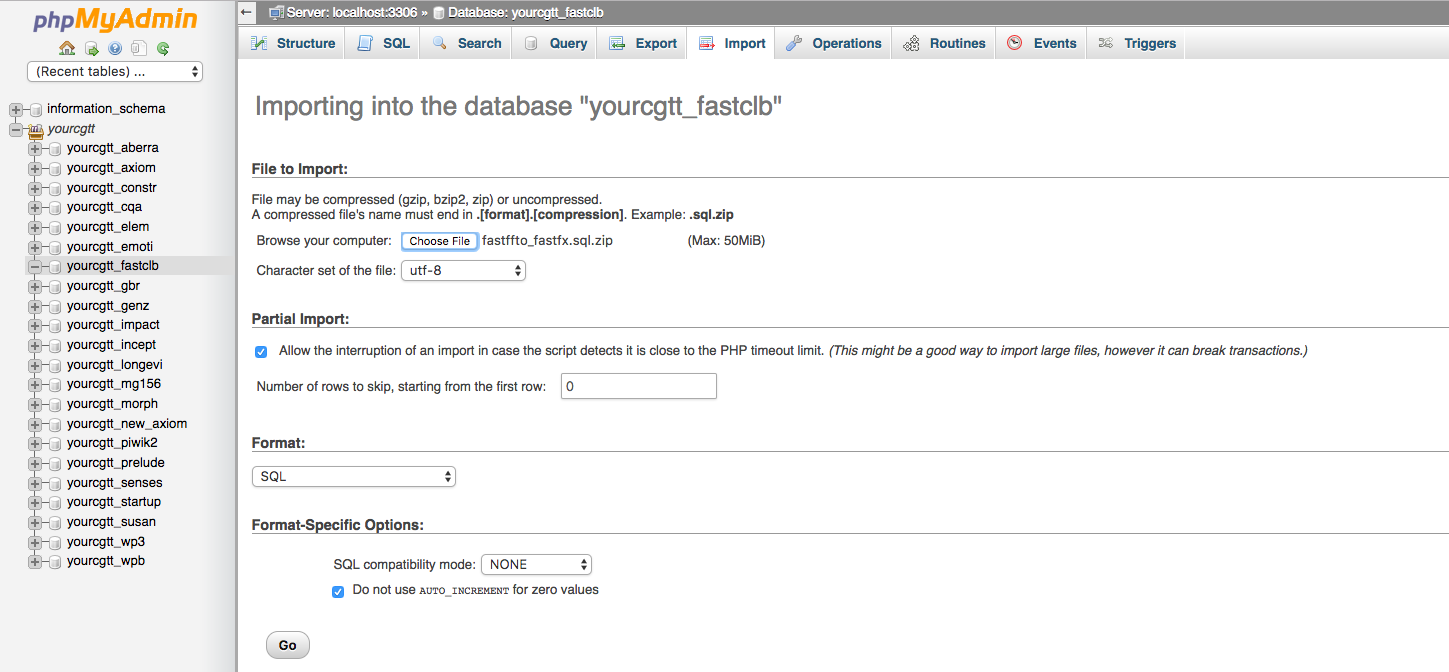
You will import the model_name.sql.zip

4. Change the Database wp_options table siteurl and home

In your imported tables you will find an wpxx_options table. In this example it is the wpka_options table. You need to change the siteurl and home values from the WordPress Model Site URL to your website URL Leave the last / off of the URL.

5. Replace The wp-content Folder

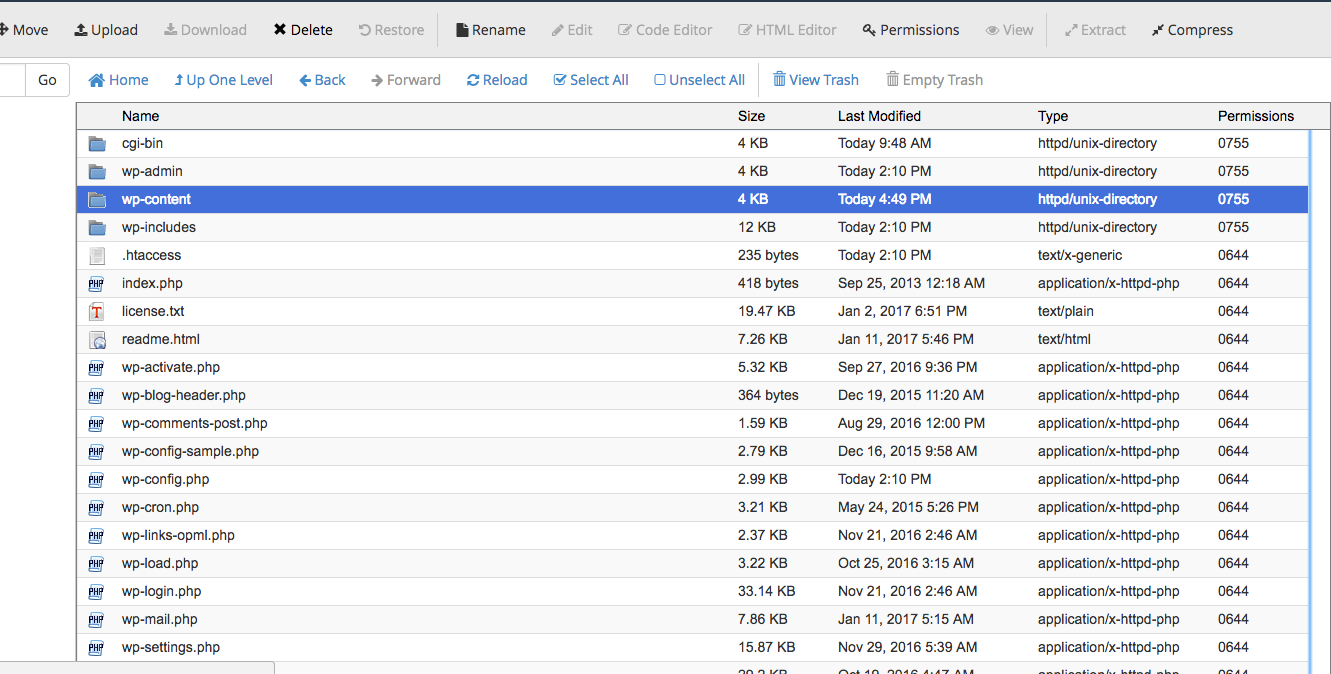
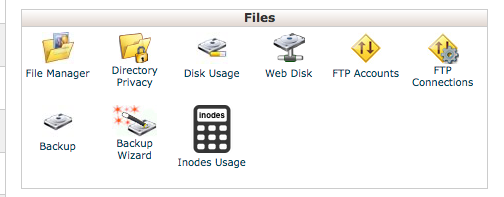
This where we use the File Manager to delete the wp-content folder shown highlighted in this file manager screenshot.

Delete the wp-content folder

Upload the WordPress Model wp-content.zip file and unzip it.

6. Delete the wp-config.php file.

Some WordPress website migration instructions suggest simply modifying the wp-config.php file. We find it easier to delete it an go throug the standard WordPress Installation step using the WordPress user interface. We’ll cover how to get the information you need in the next section.

7. Open the Softaculous Database Overview and Get the Installation Information

When you click on the edit pencil a screen will open with the WordPress Installation Information.

When you step through the WordPress Installation details you will need 

  1. Database name
  2. Database username
  3. Database password
  4. Database host
  5. Table prefix 

Items 1 through 4 are available in the Softaculous details screen. You can get the table prefix from phpMyAdmin.

8. Complete the WordPress Installation Steps.

When you click through WordPress will tell you that you are already installed

Here is where you need your Model Login Instructions. They were emailed to you with your purchase. Please change the password after you login.

Congratulations! You have installed your Premium WordPress Website Model!